The Royal Marines in the War of 1914 - 1919: The Dardanelles

Discover the heroic struggle of the Royal Marine Light Infantry in the Gallipoli Campaign, where bravery, sacrifice, and endurance defined their fight in the Dardanelles.
From the treacherous landscapes of Gallipoli to the Battle for Krithia, trench warfare at Achi Baba, and the heroism of Lance Corporal W. R. Parker, this article explores the leaders, battles, and sacrifices that shaped the Royal Marines’ legacy in World War I.
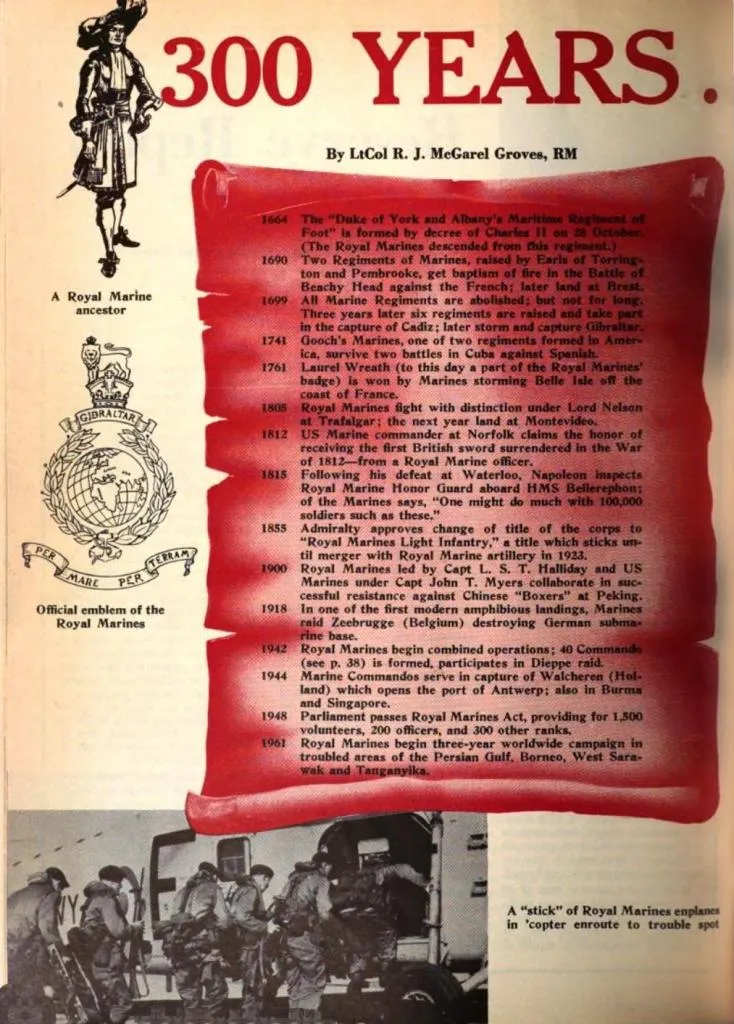
The Royal Marine Light Infantry (R.M.L.I.) played a significant role in the Gallipoli Campaign during World War I, particularly in the Dardanelles from 1915 to 1916. Facing harsh terrain, relentless enemy fire, and devastating casualties, the Royal Marines stood as a testament to bravery, endurance, and discipline. This article will chronicle their journey through key battles, strategic movements, and personal heroics, bringing history to life for military enthusiasts, antique collectors, and historians alike.
The Harsh Landscape of Gallipoli
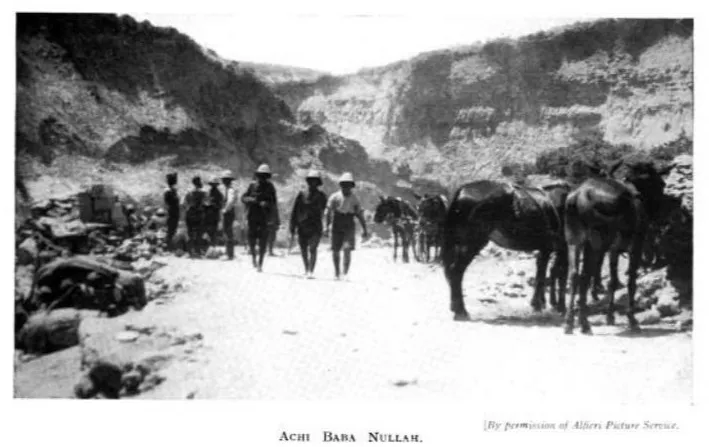
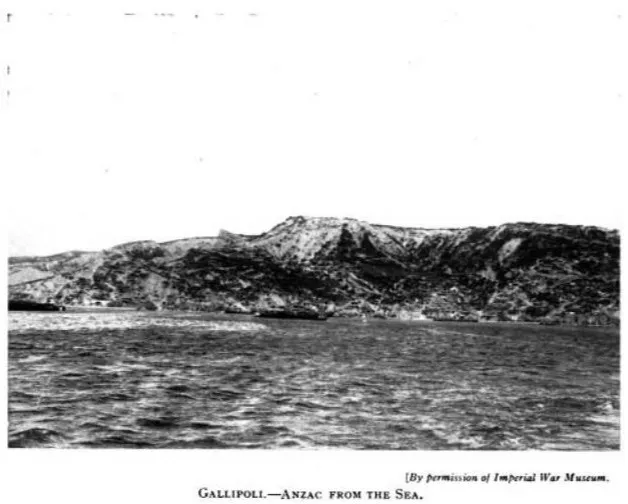
Before delving into the battles, it's essential to understand the unforgiving terrain the Royal Marines had to endure. The Gallipoli Peninsula was a harsh, rocky expanse, filled with steep cliffs, deep ravines, and limited cover. One of the most contested areas was Achi Baba Nullah, where British and ANZAC forces repeatedly clashed with Turkish defenders.
Leadership in the Royal Marines
The Gallipoli campaign saw the rise of several key leaders who guided the Royal Marines through some of their most challenging battles.
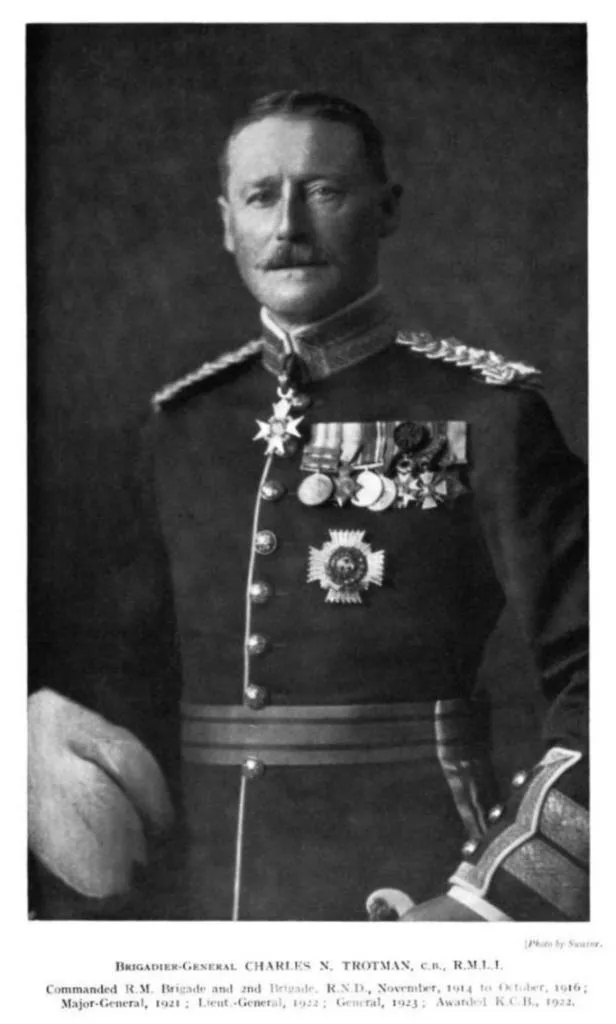
Brigadier-General Charles N. Trotman
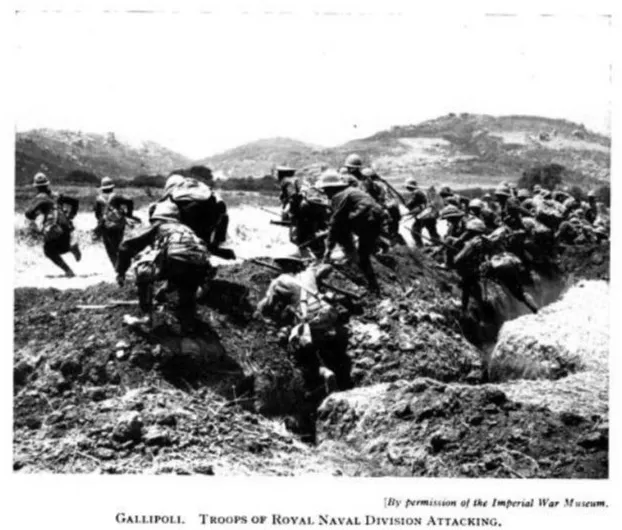
A seasoned leader, Brigadier-General Trotman commanded the Royal Marine Brigade and later the 2nd Brigade, Royal Naval Division. His tactical expertise helped sustain British efforts at Gallipoli.
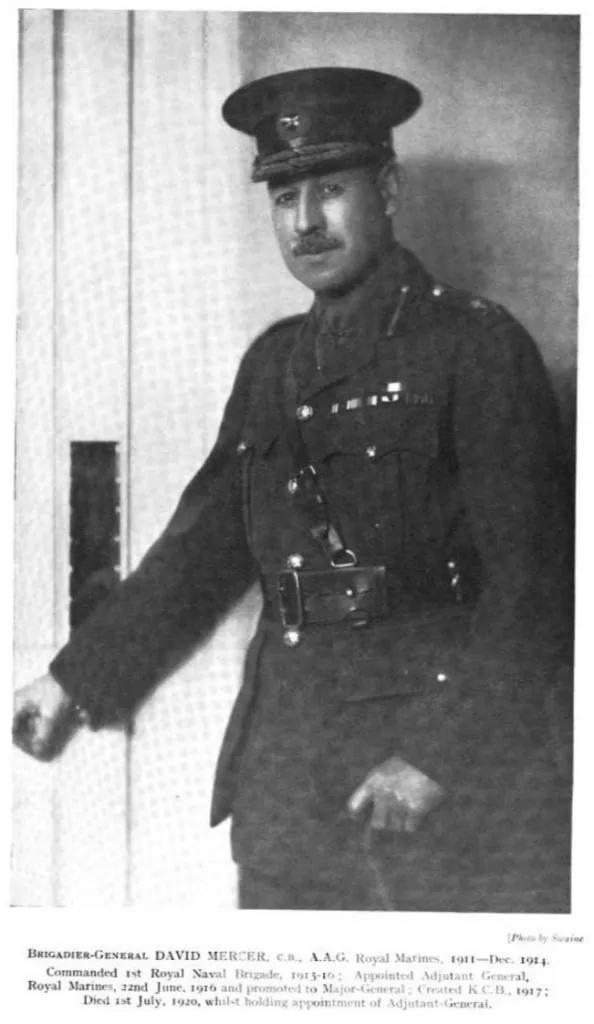
Brigadier-General David Mercer
Mercer commanded the 1st Royal Naval Brigade in 1915, playing a vital role in the Battle of Krithia and the subsequent trench warfare at Nelson Avenue.
The Landing at Gallipoli and the First Engagements
On April 25, 1915, Allied forces landed at ANZAC Cove and Cape Helles, marking the beginning of the Gallipoli Campaign. The Royal Marines were part of the naval division, supporting the ANZAC troops in their struggle against entrenched Ottoman forces.
The Battle for Krithia
One of the most significant engagements for the Royal Marines was the Battle of Krithia, fought over multiple phases in May and June 1915. This brutal trench battle saw severe losses but showcased the resilience of the Royal Marine Brigade.
Trench Warfare and the Struggle for Achi Baba
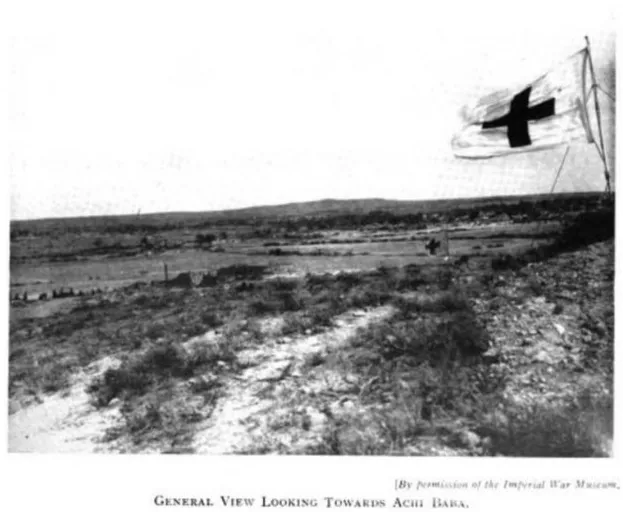
Despite multiple attempts, the Royal Marines failed to capture Achi Baba, one of the most strategically important high grounds in Gallipoli.
The Horrors of War: Shrapnel Valley and Walker’s Ridge
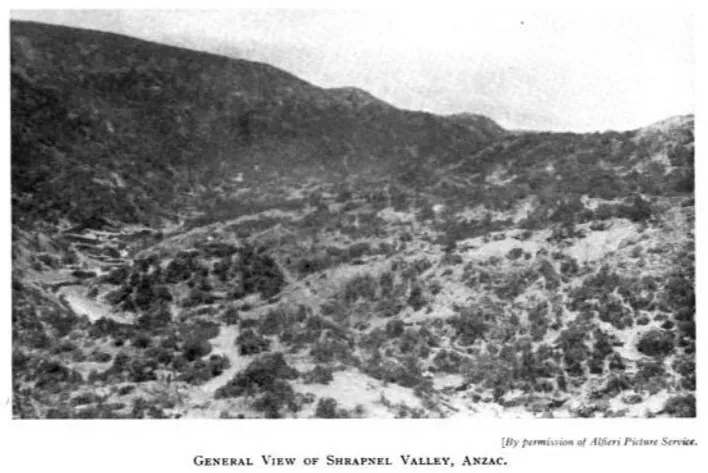
The Royal Marines suffered greatly in locations such as Shrapnel Valley, where constant shelling and sniper fire took a heavy toll.
Another key battleground was Walker’s Ridge, an area where steep cliffs and Turkish machine-gun fire made advancement nearly impossible.

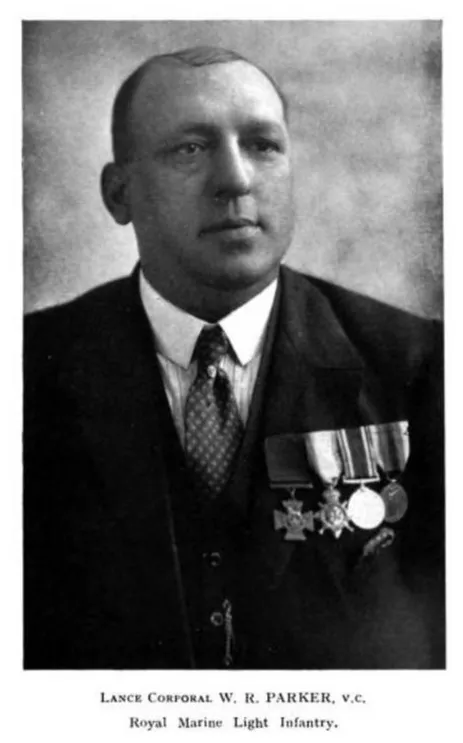
Lance Corporal Walter Richard Parker: A Hero Among Men
Amidst the chaos and carnage, individual acts of heroism stood out. One of the most notable Royal Marines was Lance Corporal Walter Richard Parker, who was awarded the Victoria Cross (V.C.) for his extraordinary bravery during the Battle of Gaba Tepe.
His Actions
On April 30 - May 1, 1915, Parker volunteered under heavy fire to deliver water, ammunition, and medical supplies to an isolated trench at Lone Pine Plateau. Despite being severely wounded, he continued to aid the injured until the position was evacuated.
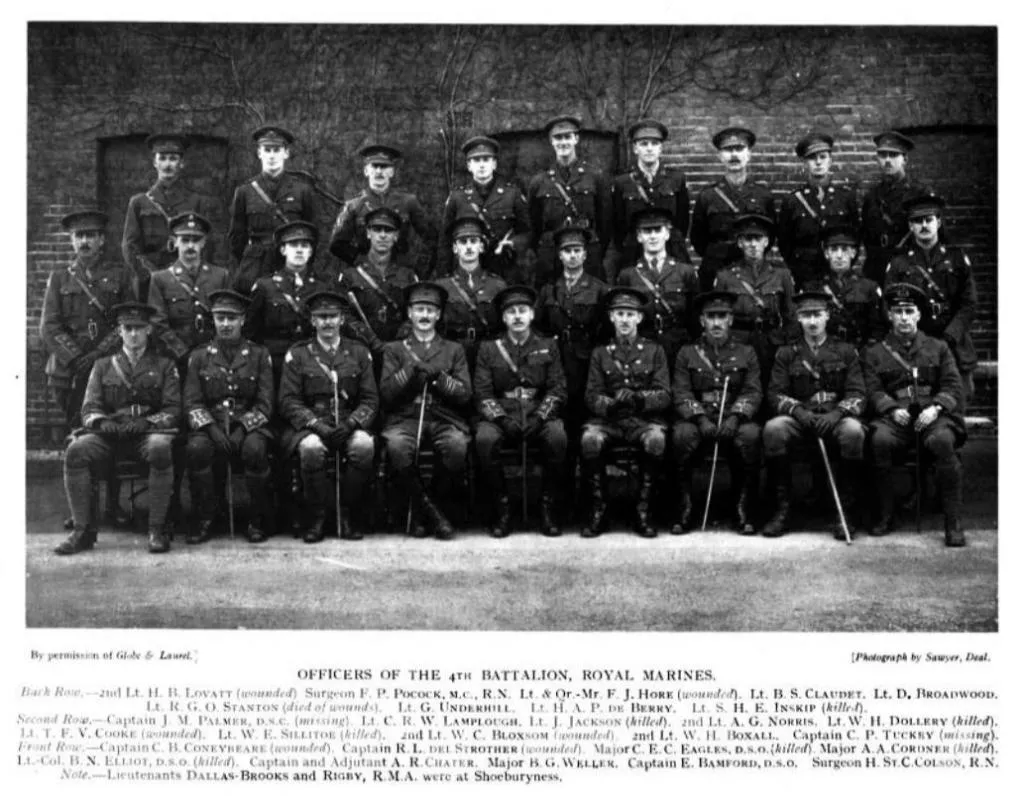
The Officers of the 4th Battalion
The 4th Battalion of the Royal Marines played a significant role in Gallipoli. The officers in this unit led their men through some of the fiercest battles, enduring high casualty rates.
The Legacy of the Royal Marines in Gallipoli
The Royal Marines Light Infantry faced insurmountable odds in Gallipoli, suffering devastating casualties but maintaining unwavering discipline and courage. Their role in the Dardanelles campaign is a testament to their fighting spirit, endurance, and commitment to duty.
For military historians, collectors, and enthusiasts, the Gallipoli campaign offers a remarkable insight into early 20th-century warfare, where bravery and sacrifice shaped the course of history.
The Royal Marine Light Infantry’s history in Gallipoli is one of determination, resilience, and sacrifice. Through first-hand accounts, historical records, and visual documentation, we remember the men who fought and died on the unforgiving shores of the Dardanelles.
You may also like


Share this article