How Were Wooden Hat Blocks Made?
Contents
The Craftsmanship Behind the Foundation of Classic HatsWhat Wood Was Used for Hat Blocks?The Purpose of a Hat BlockThe Five-Part Block ConstructionCarving Hand Holes for Easy HandlingCurving the BlocksOvaling the Block to Match Head ShapesSmoothing the Surface with SandpaperFinal Touches: Shaving and TrimmingFinishing and PreservationWhat Was Used Instead of Wooden Blocks?The Art of Hat Block MakingDiscover the fascinating craftsmanship behind hat blocks, the essential wooden molds that shaped iconic hats for generations.
Learn how hat blocks were made, from selecting the best wood to carving, curving, ovaling, and sanding, and explore the machines that replaced wooden blocks for fur hat shaping.
Source: Google Books
The Craftsmanship Behind the Foundation of Classic Hats
For centuries, hats have been an essential part of fashion, functionality, and status. Whether it was the dapper derby, the stylish yachting hat, or the refined silk top hat, each of these headpieces had one thing in common—a wooden hat block. But how were these blocks made? What wood was best suited for shaping these hats? This article explores the intricate process of hat block manufacturing.
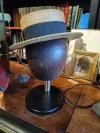
Cowboy Hat Holder Wooden Table Top Craft Hat Stand Display Millinery Vintage 1960s
What Wood Was Used for Hat Blocks?
The best wood for making hat blocks was whitewood, primarily sourced from the Southern and Western United States. This wood was straight-grained, porous, and free of knots, making it ideal for carving, shaping, and withstanding repeated use. Whitewood logs arrived at manufacturing plants in lengths of 12 to 16 feet, with widths between 7 and 8 inches. However, before they could be worked into blocks, the wood had to dry for six to twelve months in steam-heated rooms.
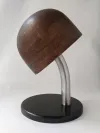
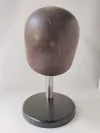
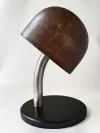
The Purpose of a Hat Block
A hat block served as the mold over which felt, wool, or straw was shaped into the desired hat form. Each block was crafted to a precise shape and size, allowing hat makers to stretch and form material into consistent styles. A single block could be used countless times, making it a vital tool in hat production.
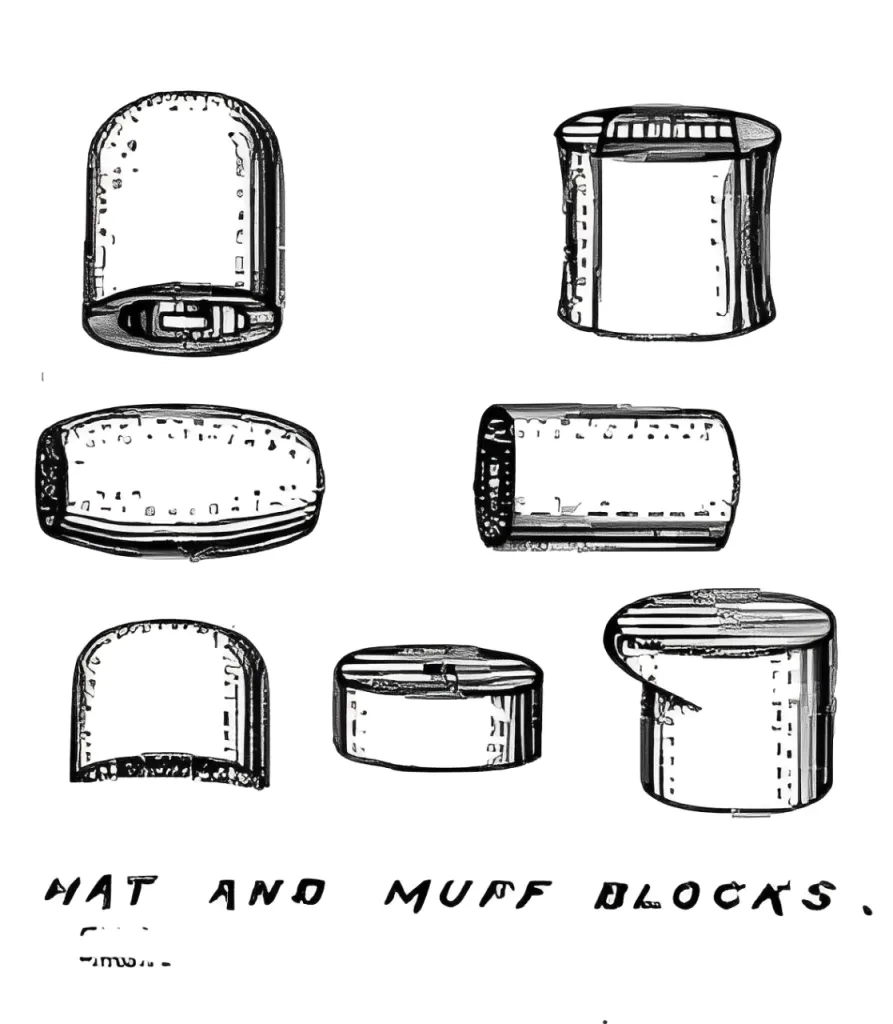
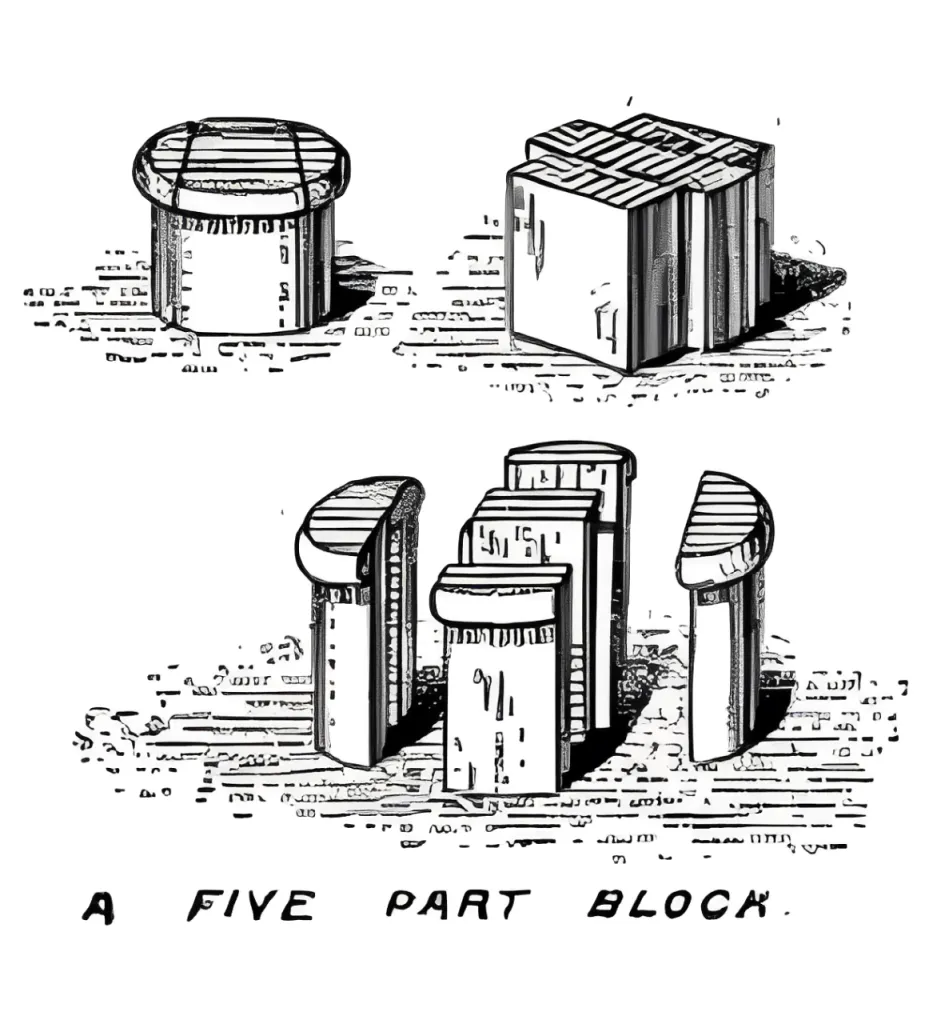
The Five-Part Block Construction
Source: Google Books
Before shaping, the wooden blocks were cut into five separate parts. These consisted of a center piece with two side panels and two additional pieces forming the outer shape.
To keep them together during shaping, the center section was grooved and fitted with tongue-like strips that allowed the pieces to interlock securely. A strip of paper was glued between the pieces, which held them together during the machining process but allowed them to be easily broken apart when needed.
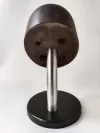
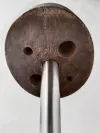
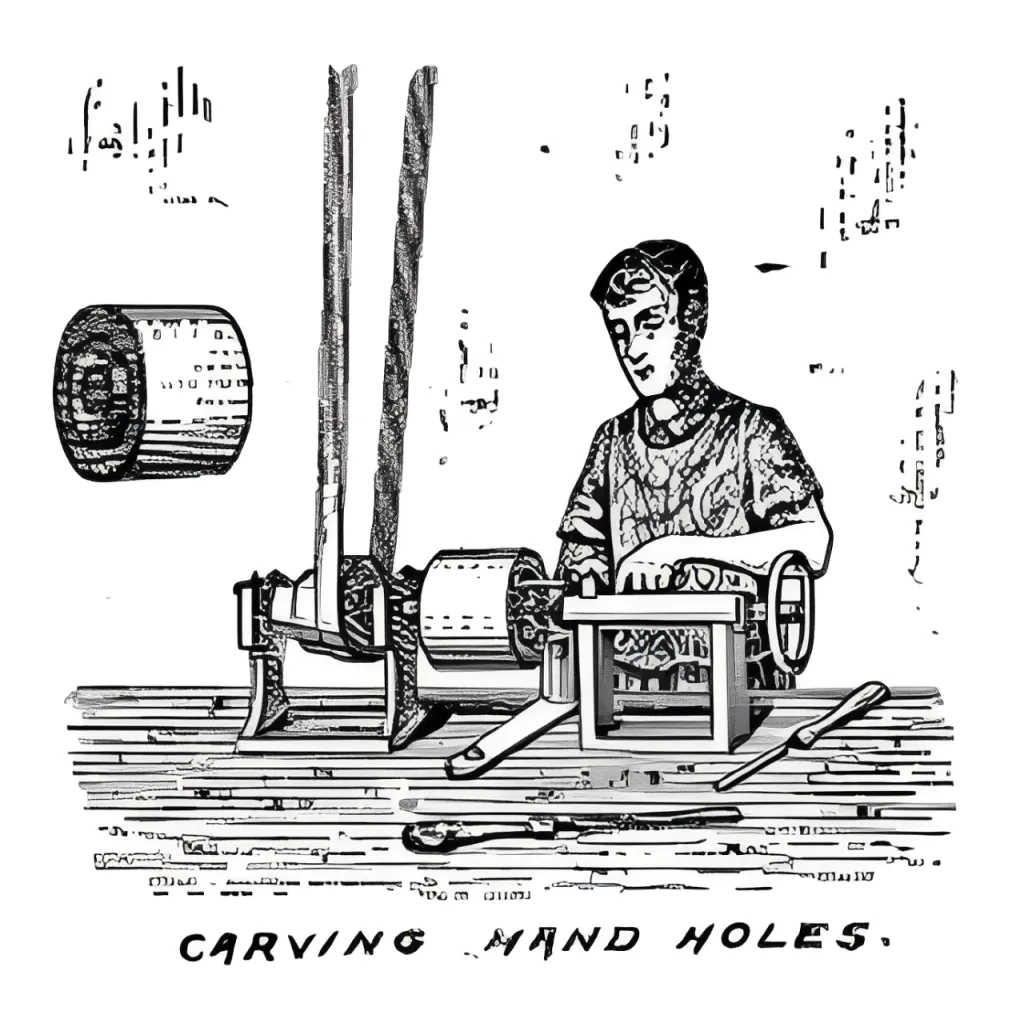
Carving Hand Holes for Easy Handling
Source: Google Books
Once the blocks were assembled, they needed to be made practical for hat makers. Many blocks had hand holes carved into them, allowing workers to hold and maneuver them easily during shaping.
The carving was done using a lathe and sharp gouges, cutting out holes between 4 and 6 inches in diameter and 2 to 3 inches deep. These holes were carved while the block was spinning, ensuring a smooth, even cut.
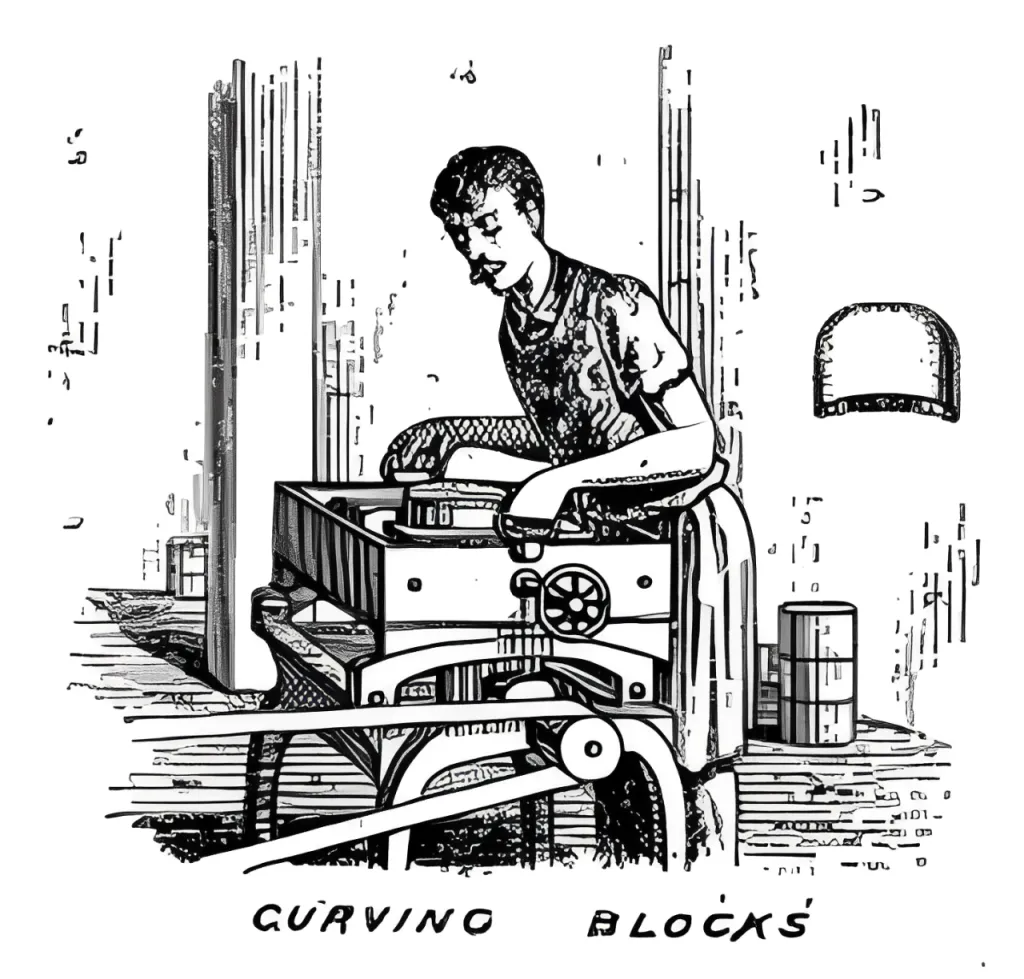
Curving the Blocks
Source: Google Books
For styles like derby hats and silk hats, the bottom of the block required curvature. This was achieved using a curving machine equipped with two revolving knives running at 4,000 revolutions per minute. The block was held in a moving frame that guided it over the spinning blades, cutting a precise rounded base in about 30 seconds.
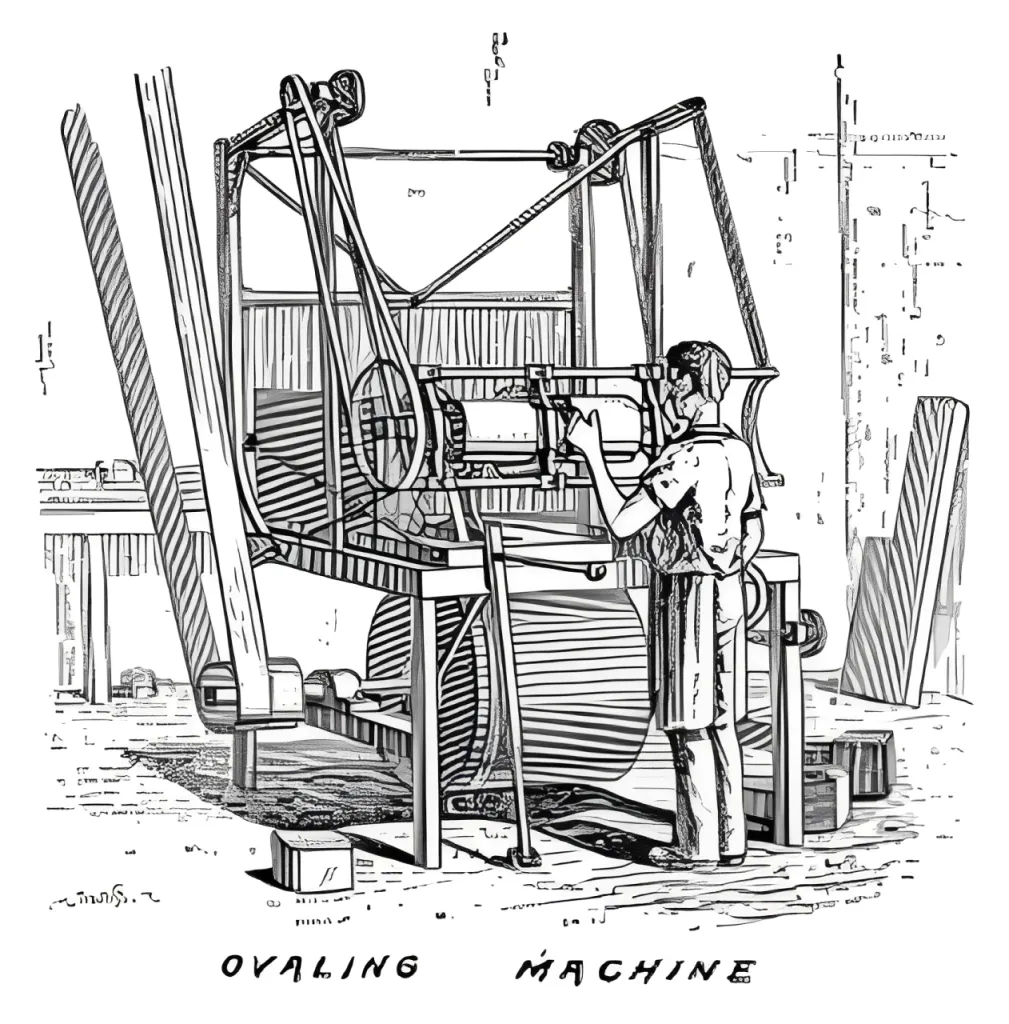
Ovaling the Block to Match Head Shapes
Source: Google Books
One of the most crucial steps in hat block making was ovaling—ensuring the block was shaped properly for the natural contour of the human head.
To achieve this, the block was mounted on an oval-patterned rotating shaft, which guided it against four hook-shaped cutting knives. These knives, traveling at 4,000 revolutions per minute, cut the wood into a smooth, precise oval. The entire process took about three minutes.
Smoothing the Surface with Sandpaper
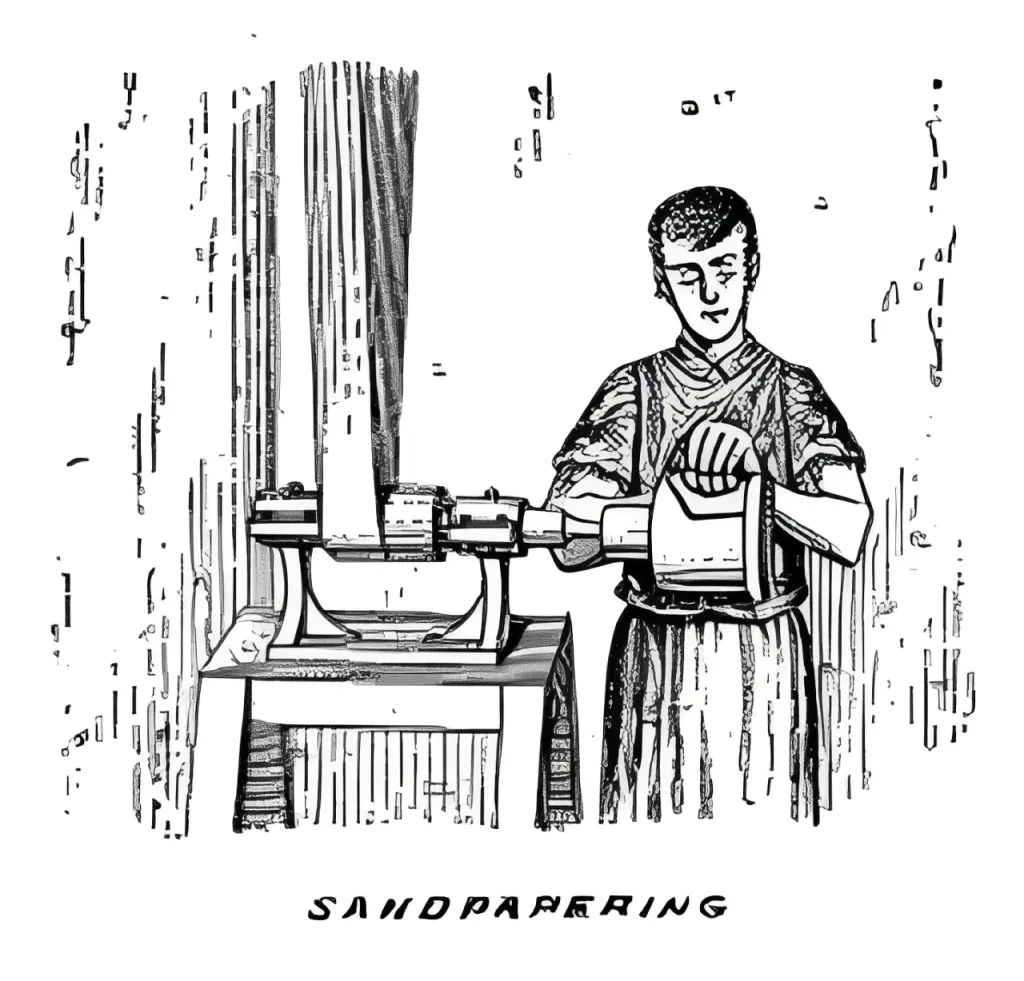
Source: Google Books
After shaping, the blocks were rough and uneven. To prepare them for use, they were sanded using a rotating drum covered in sandpaper. This machine, spinning at 8,500 revolutions per minute, allowed the operator to smooth the entire surface in about one minute.
Final Touches: Shaving and Trimming
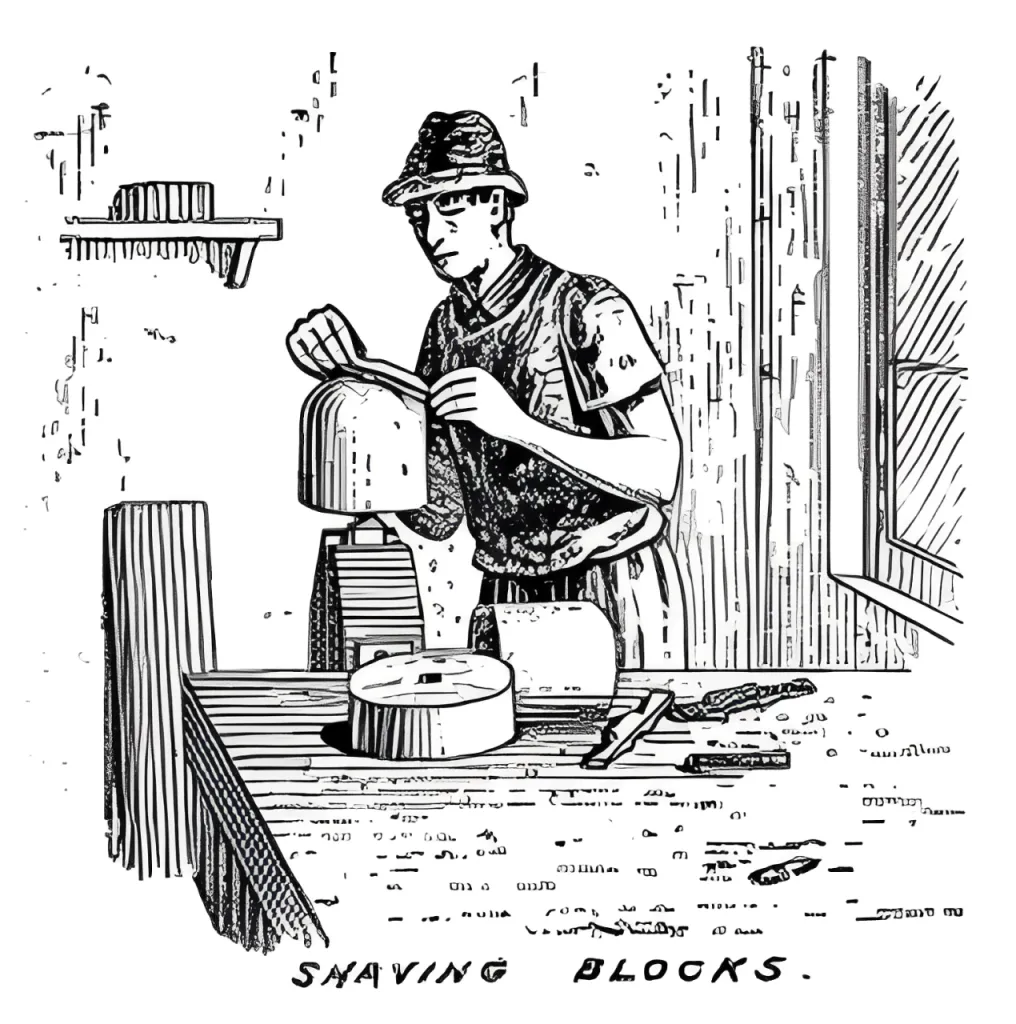
Source: Google Books
Even after sanding, some final refinements were necessary. Craftsmen used hand tools to shave away any imperfections and ensure perfect symmetry. This step ensured that each block matched the precise specifications needed for hat making.
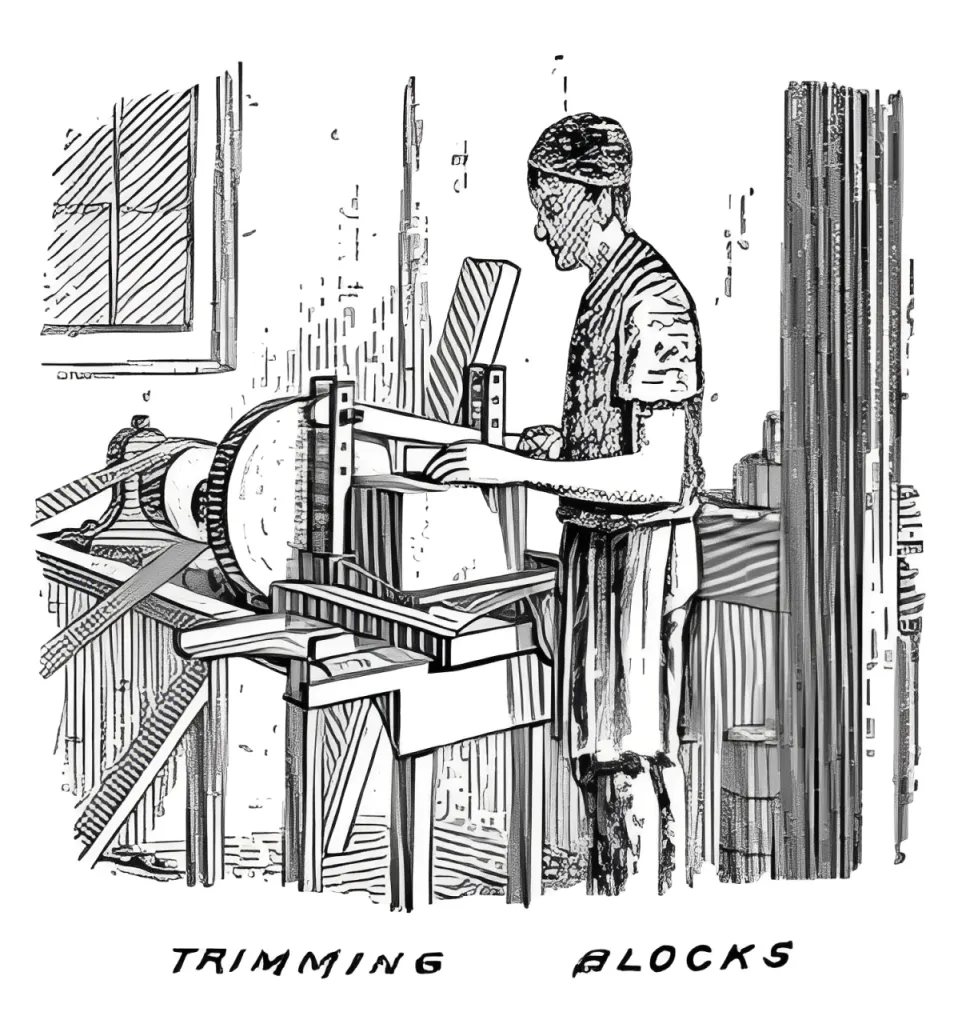
Source: Google Books
Lastly, the blocks underwent trimming, which involved cutting away any excess wood and ensuring consistent size and thickness. Trimming was performed using a circular saw blade mounted on a workbench.
Finishing and Preservation
To protect the wood and extend the life of the blocks, they were coated in raw linseed oil and paraffin wax. This helped prevent moisture absorption and ensured the blocks remained durable even after repeated use.
The finished blocks ranged in height from 4 to 10 inches and in diameter from 4¾ × 5¾ inches to 6¼ × 7¾ inches. A well-equipped workshop could produce around 60 blocks per day with just five workers.
What Was Used Instead of Wooden Blocks?
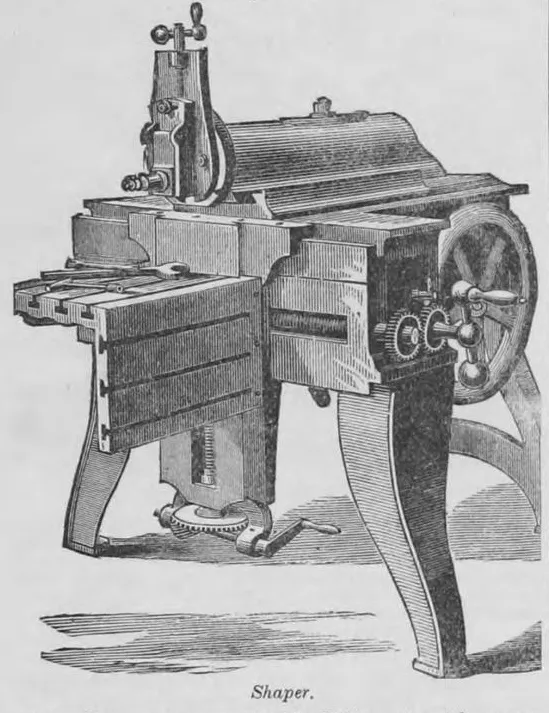
Source: Google Books
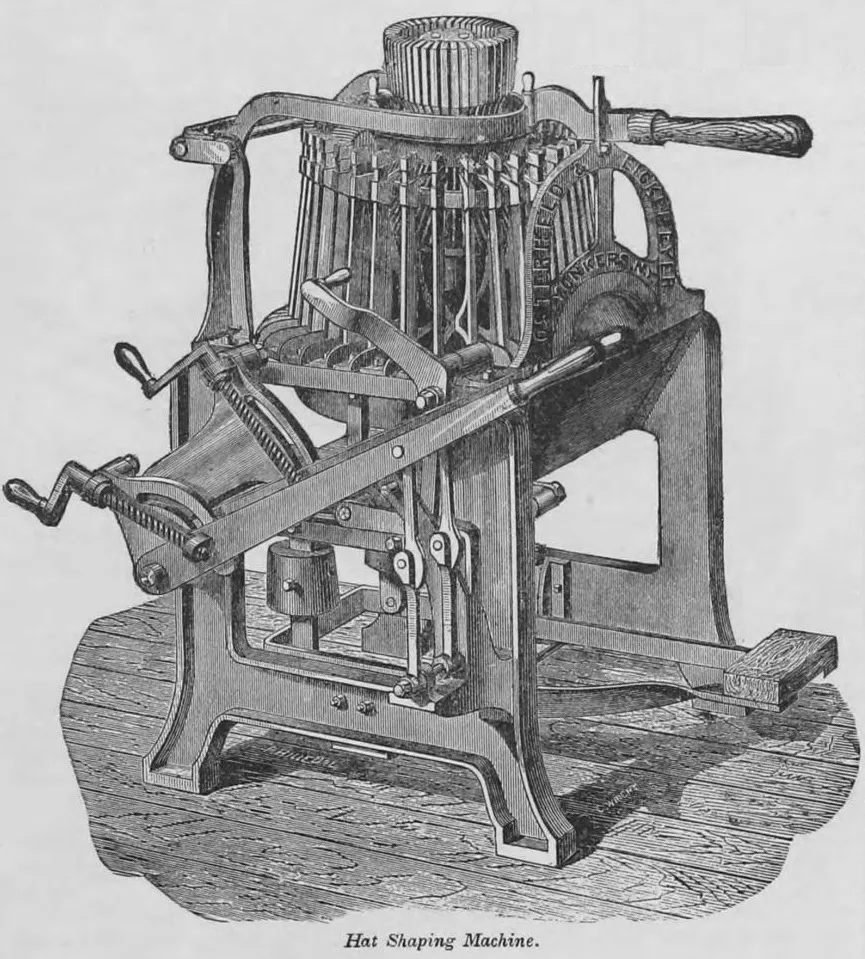
While wooden hat blocks were essential for shaping many types of hats, fur hats required a more precise shaping process. Instead of relying solely on wooden blocks, specialized hat shaping machines were introduced to bring fur hats closer to their final shape before finishing. These machines allowed for greater precision, ensuring that fur hats matched the intended design before the final blocking stage. The invention of R. Eickemeyer’s finishing blocking machine helped make this process more efficient, particularly since fur hats required more exact shaping than wool hats, which were more elastic and could be adjusted during the finishing process.
Source: Google Books
The Art of Hat Block Making
The craftsmanship behind hat block production was a blend of skill, precision, and efficiency. Using carefully selected whitewood, these blocks were cut, shaped, curved, and sanded to perfection before being finished and coated for durability.
Though much of the hat-making industry has changed, these traditional methods remain a testament to the ingenuity of the late 19th century. Today, antique hat blocks are highly collectible, offering a glimpse into the meticulous process that shaped fashion for generations.
Source: Google Books
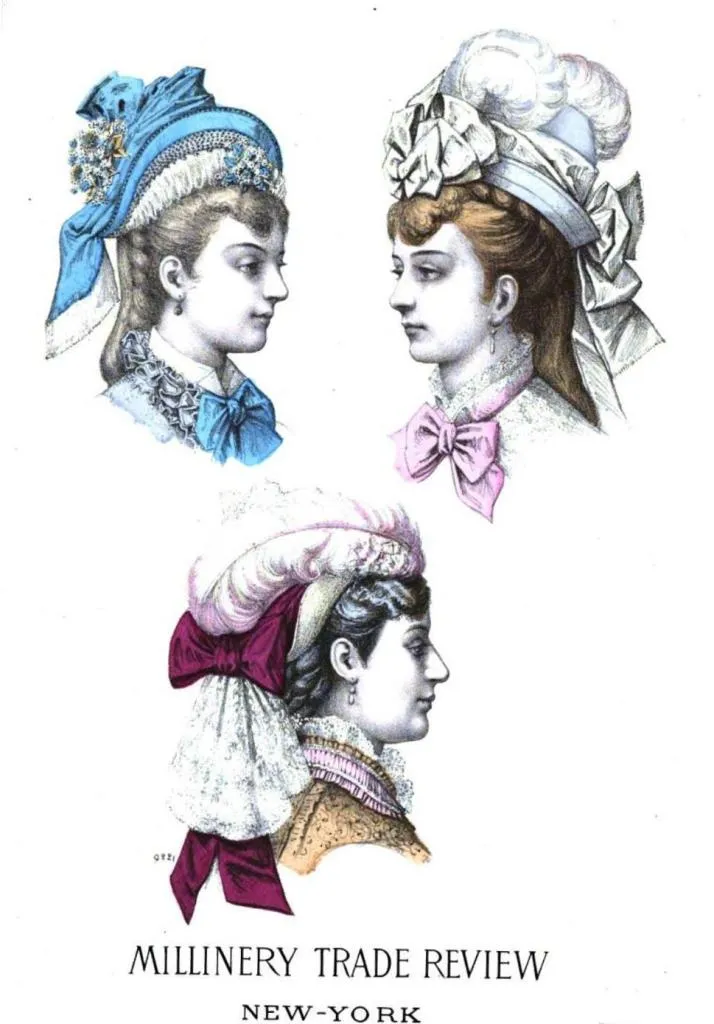
Next time you admire an elegant Victorian hat, remember the skilled milliners and craftsmen who meticulously shaped its form, long before it became a fashionable statement of its era.
Share this article